
The Tiger's-Eye Edge Burnish in 4 Simple Steps

Updated: Sep 7
Almost every technique we encounter in our craft has its roots in experimentation or happy accidents.
Historically, from stitching to burnishing, or reinforcements to turned edges, almost everything we do today involved someone at some point thinking ‘I wonder what would happen if I did this', or 'That's a surprise, I wonder if I can take this further'?.

This is precisely what happened recently when I was making the ‘Duoface Card Wallet’ video course.
I had dyed the edges of the card wallet a dark brown to match the leather I had chosen, then I began burnishing after it had dried.
However, I wasn't getting the edge I was looking for, so I decided to go back to a rough sander to even up the surface and try again.
While sanding I noticed I was removing patches of dye that began exposing the un-dyed leather underneath. This was happening in areas where the leather hadn’t absorbed as much dye as other areas.
The result looked rather ugly and needed re-dyeing back to dark brown for a more uniform look.
However, curiosity got the better of me and I wanted to see what a burnish would look like on patchy, partially dyed leather.
So I added some Tokonole and began to burnish.
It immediately looked interesting and I wanted to continue polishing to see if I could improve it further.
With subsequent sanding with a fine abrasive (1200 grit) and additional applications of tokonole, the look reminded me of the tiger's-eye gemstone. It's an interesting finish that also reminds me of a French polish over mahogany wood.

So here is a simple 4 step process that you can follow in order to try out this technique and see if it’s something you want for your next project.
Step 1: The leather.

The leather should be un-dyed vegetable tanned leather, or leather that has only received a surface dye treatment (by you, or the tannery that produced it).
This technique really works best on edges that contain 2 or more layers of leather. On the wallet I was working on, I had 4 layers. I believe this is because leather, even from the same hide, can absorb dye differently due to the natural variation in the density of the fibres. This inconsistency actually adds to the final look of the edge, with some areas absorbing more dye than others.
Step 2: The dye.

Darker dyes are going to be more obvious and give you a more striking look. Of course, you don’t have to use brown, any colour can be used.
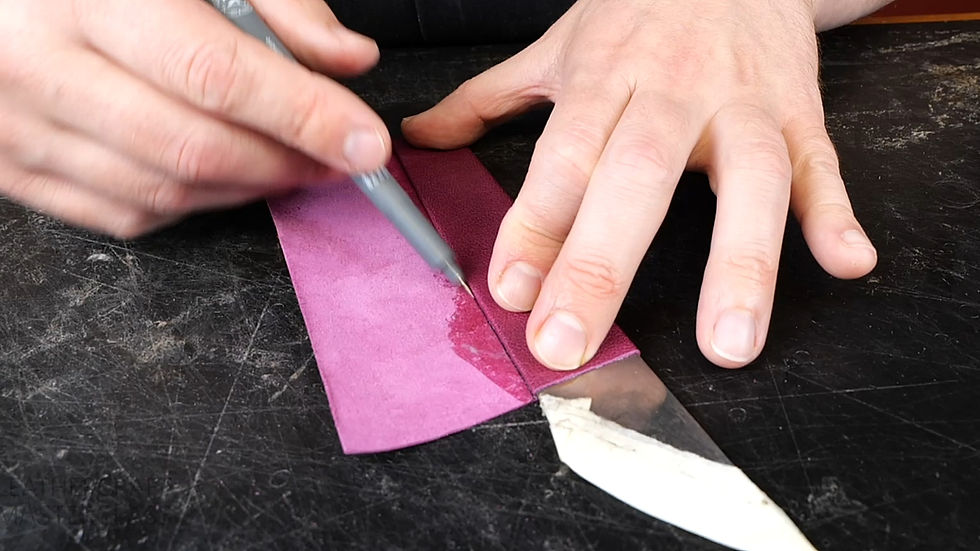
Simply take a sponge (or Q-Tip if it’s a thin edge) and apply a thin layer of dye. More dye can be added later if you don’t get the desired result, but too much dye may require considerable sanding time to achieve the ‘patchy’ look you are seeking.
Let it dry completely.
Step 3: The Sanding.

I found that burnishing the leather edge before sanding actually worked better than simply sanding after dyeing.
So before you show your edge any abrasive paper, grab a wooden slicker and give the surface a burnish with your favourite burnishing compound (Tokonole, gum trag, CMC etc).
When the edge is dry again, take a flat piece of abrasive board. Sanders used for nail care are great for this, but you don’t want the abrasive grit level to be too fine. 120 grit or similar is a good starting point.
Gently sand the edge in one direction until you achieve the patchy look. If you need to add more dye in some areas, simply add a little more from a nearly dry applicator.
Make sure you sand the edge evenly, just like you would normally. Don’t try and chase the look by sanding more in one area than another.
Step 4: Final polishing.

When you achieve the tigers-eye or wood grain effect you like, apply your burnishing compound and burnish with a slicker or canvas cloth.
If you want a smoother, more polished look to the edge, use a much finer grade of abrasive paper that’s over 1000 grit.
Continue the process like so: Add compound, burnish, dry, fine sanding, repeat. Do this until you are as polished as you can get it.

Finally, add clear high gloss shoe polish, let it dry, then rub over with a lint free cloth. This will seal the deal and give you a nice highly polished finish.
Only add one or two thin layers to prevent a build up that could flake off with use. It’s just a nice way to add shine, but it isn’t actually necessary.
So there you have it! A new interesting way of edge finishing to add to your arsenal.

I’d recommend trying this out using spare leather first so you can practice the technique. That way you’ll be intimately familiar with how it’s done before you try it on any project.
And just remember, if you don’t like the look, or you mess up the process, all you need to do is cover the edges up with a layer of dye again, then burnish as normal for a uniform look. No harm done.
To watch the video course ‘The Duoface Card Wallet’ Simply get your all-access video Plan HERE and start making yours today!
Do you have any interesting or unusual edge finishing tips that you’ve discovered? Comment below and share your findings.
See you in the workshop, Philip

Great article, thank you for sharing!