
Leatherworking Mistakes I Made As A Beginner (So You Don’t Have To!)

Updated: Apr 20
Quick summary:
Tannery secrets: Talk to leather suppliers and get insider info
Less is MORE: Buy fewer tools, and be deadly with each one!
Go to bootcamp: Drill the fundamentals before advancing
Pick the right leather: Master firm hides before soft skins
Track your progress: Keep your early work and ugly mistakes
It’s been said the difference between a novice and an expert is simple. While novices are often getting lost in the finer details, the experts are still busy mastering the fundamentals.
If you’ve ever felt overwhelmed, confused, or unsure where to start, this blog post will help get you back on track faster.
So, if I could go back in time and sit with my beginner self, here are the top tips to humble that young guy who seems so sure of himself!
Visit a tannery or supplier where you can ask questions.
I know, not everyone can achieve this, but really focussing on understanding your leather goes a long way.
When going to a place that creates or sells leather, the conversations you can have with these professionals are worth its weight in alligator skin!
These people aren’t usually on forums, Reddit, Facebook or WhatsApp groups, so their advice and knowledge is rarely tapped into.
It’s these guys who really showed me how to buy leather, what to look for, and how to match hide to project.
I got advice on what time of year to get a new stock of leather to avoid blemishes from insect bites and barbed wire scars.
I was told to avoid tanneries that use hides from force-fed cattle to avoid an inconsistent and loose grain (high altitude grass-fed for the win!).
I have received so much advice from the people who live and breathe leather, day in and day out.
While they can’t tell you what reinforcement to use for each hide, or what size thread to use, they have unique information that can give you the upper hand.
They aren’t end users, they are the creators and stockers of the material we use. They have advice and a perspective you don’t get from most fellow leatherworkers.
Tools aren’t toys, even if the UPS guy may as well be Santa with the amount you buy!
It usually starts with the old ‘if I just had ‘X’ tool, I’d be able to achieve greatness’, and beginners often overspend in this tool trap.
But even if you decide to buy inexpensive tools, you'll tend to make up for it in sheer volume and end up spending the same amount as you would on less, but higher quality tools.
The problem is, many of these budget tools require an experienced crafter to sharpen, use and maintain due to their lesser quality. ‘Poor quality only a master could use’. Etch that into your mind for the next time you buy a set of skiving knives for $4.78 on eBay.
Less, but better, as the famous designer Dieter Rams would say. Buy one good tool for each area of leathercraft. Leave it at that until you get to a point where the designs and construction of the projects you wish to create necessitate something new.
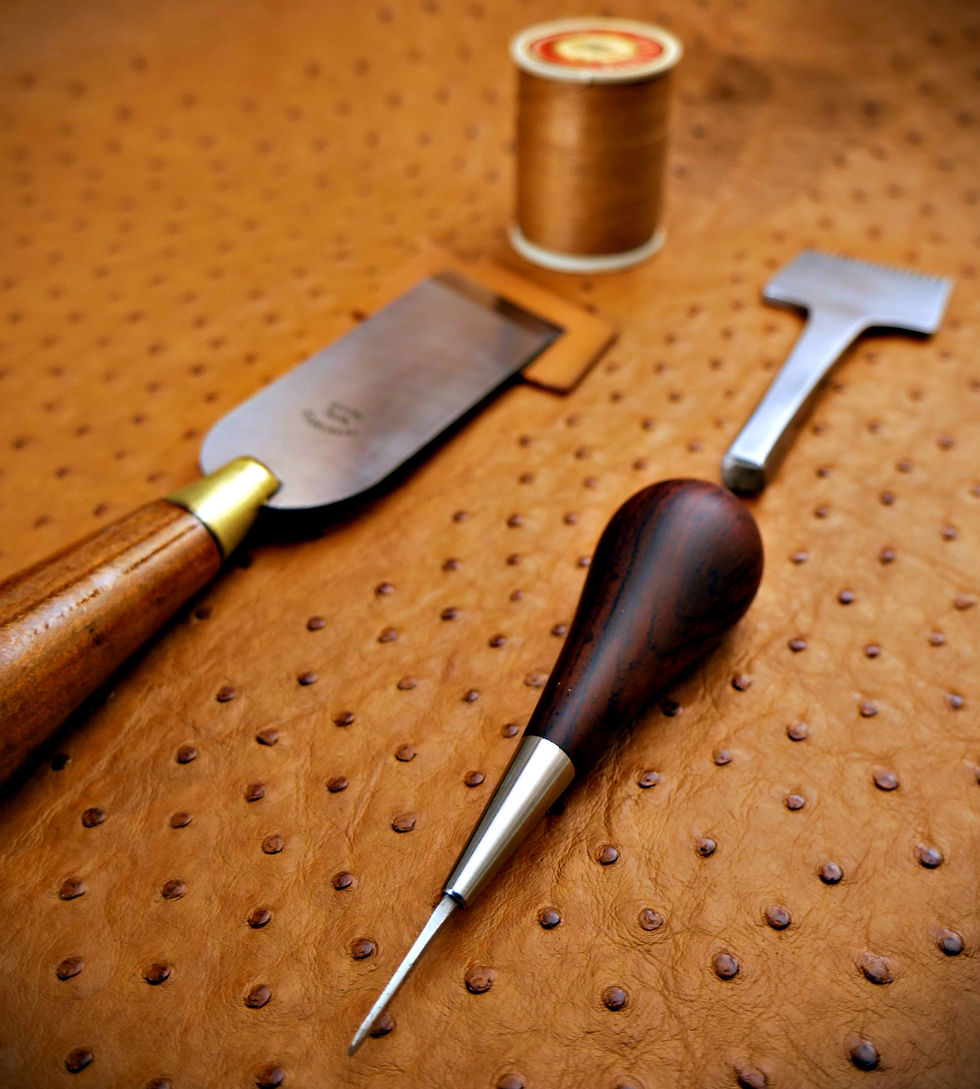
A decent set of needles, pricking iron, mallet, craft knife, skiving knife, ruler, wing dividers, edge beveller, abrasive tools, glue and accessories. There are only a few more tools you really need to get started, and you may already have them.
Sometimes it’s really easy to buy indiscriminately simply because life gets in the way, and you haven’t had the spare time to make anything lately. You may feel buying more kit is just another way of staying part of the craft, you feel like you’re still ‘doing something’ and it keeps things exciting.
The truth is, if you don't have time for a full project at the moment, you’d be better off using what time you do have practicing, or updating your knowledge by reading a book or watching a course.
Master your fundamentals before your leathercraft journey begins.
There is some merit to learning as you go and figuring it out on the fly. However, leather isn’t cheap and good quality leather is basically a luxury item. You don’t want to make all your mistakes on the good stuff.
Much like the army has a bootcamp where the fundamentals are drilled into you, the best leather crafters put themselves through the same process.
One of the recommendations I give in the ‘Leathercraft Beginner class’ is to take a long strip of thick vegetable tanned leather and use it to practice cutting, marking, pricking, bevelling, and edge finishing. This is done multiple times over and over again until you begin to iron out mistakes and the fundamentals become a familiar friend.
I've had some students show me an entire pile of leather scraps where they have gone through the above process 100 times. This kind of dedication has always shown a higher standard of finishing in their work later down the line.
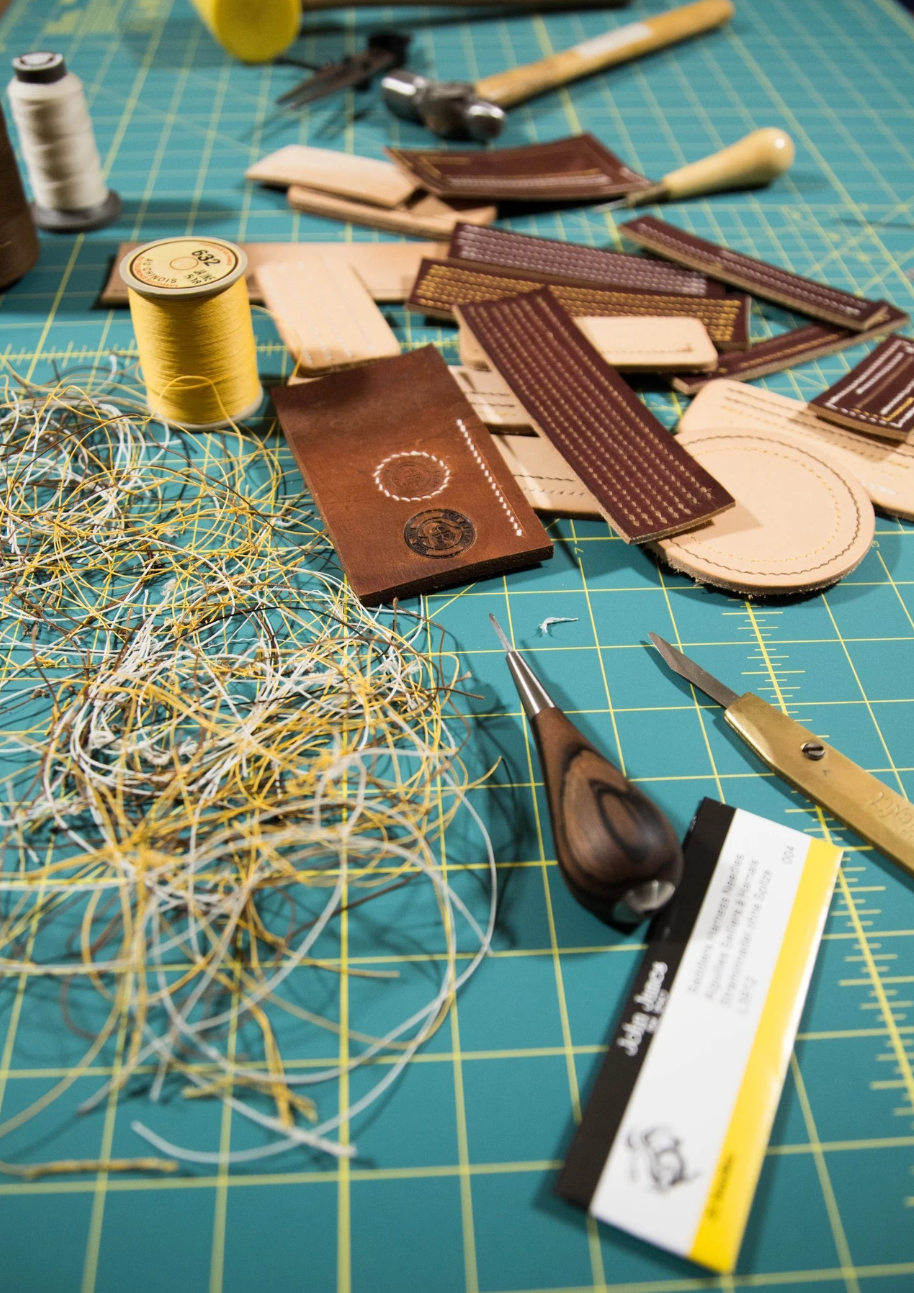
I didn’t do this when I started, and eventually I had to force myself to go back and do the ‘100 stitch bootcamp’ I just described. It paid off.
Because I just couldn’t ‘get it’. My stitching was straight and machine-like. If I got angles on one side, the other side was straight, and vice versa. Some seams looked good, then went to hell halfway in.
This wasn’t fun, and it sucked for a while. It would have been better to drill the fundamentals and embrace the practice sessions early on. Here mistakes are simply educational, rather than project ruining.
Master one type of leather at a time - Truuuuust me!
There have been so many times where I have been emailed, messaged or asked in the comment section about stitching issues.
The issues are the usual suspects we have all encountered. Inconsistent looking seams, straight stitches, great front side, horror show on the rear etc.
My response is now always the same, ‘do you have a picture you can send me?’.
90%+ of the time I end up looking at leather couch scraps stitched with thick braided thread after using a 3mm Tandy stitching chisel. Nothing wrong with that, but if your goal is a beautiful hand stitched seam, it's not ideal.
I mean, this makes sense, why would you buy expensive leather, thread and tools when you don’t even know how far you’ll go with leatherwork? You just want to try your hand at stitching and see if you can do it like the pros on Instagram.
However, I always insist my students start on the easiest and most well behaved leather there is: Thick, firm vegetable tanned leather 2.5mm (6oz) or above. Harness leather, crust, bridle hide, there are many suitable types.
Once you have reached a level where you can repeatedly, at will, create beautiful consistent stitches, it’s time to move up.
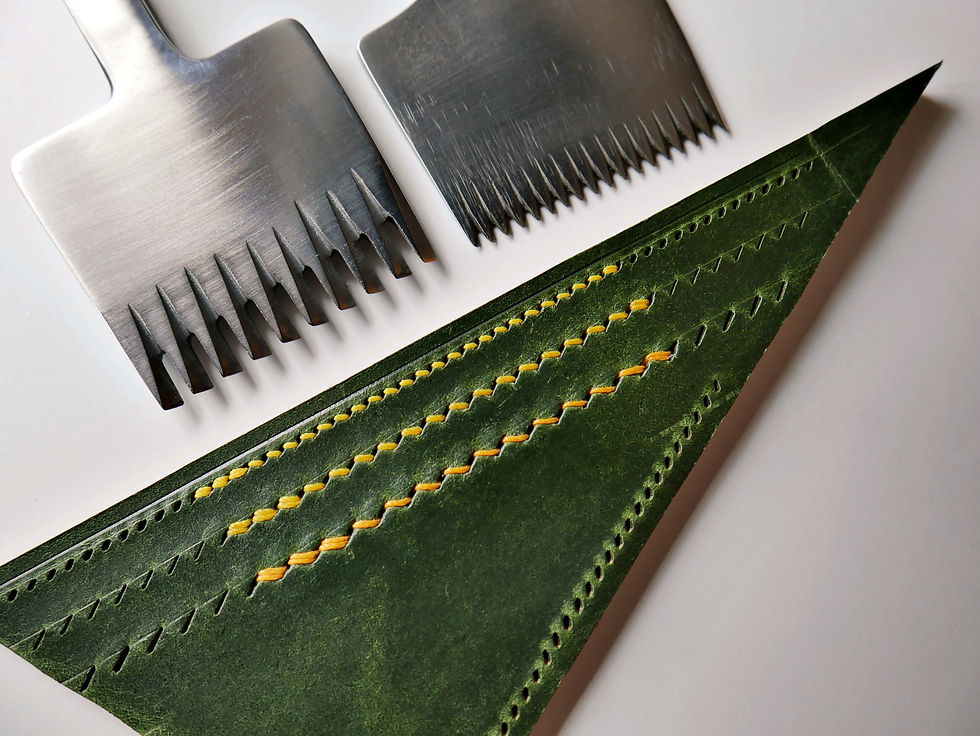
Staying with veg-tan, now try stitching with a thickness of 2mm (5oz) or less. This adds a complexity that will show up, but it’ll still be manageable. Your tension and technique will likely have to change a little.
Then, it’s time to try a soft veg-tan such as vachetta, or go straight to chrome tanned skins for more of a challenge. Here, much of what you previously learnt on thick veg-tan won’t provide the same results, and a change in thread thickness and pricking iron size may be needed to get the same look.
This is just stitching. As the characteristics of leather change, the way it cuts, stitches, skives, glues and edge finishes can vary quite wildly.
As long as you’re expecting this, it’s ok. Just make sure you start by mastering the easier leathers like thick veg-tan before trying goatskin, crocodile or god forbid, stingray skin!
Create a library of ‘ugly’ first attempts.
It’s amazing how valuable this simple tip has been over the years. Especially when starting out, it’s easy to lose track of your progress and how far you’ve come.
It’s so easy to play the comparison game with other creators and look at how far you have to go sometimes. By looking back at your early attempts, it can give you the perspective to realise that you’re actually closer to having the skills you want than you realise.
You can simply keep a box full of first tries and take a peek every few months, or you can organise a folder to document your progress with notes about your efforts and what you learnt.
I went with option A, as I’m really not that organised! Either way, never throw away your first attempts at anything, at least for your first year.

This was my first attempt at a card holder. Vegetable tanned on the back and chrome tanned on the front. I didn't realise chrome leather stretched that much and cards were always loose inside and wanting to fall out. I didn't know what I didn't know.
Keeping these little journey markers can help you take a step back and appreciate your hard work and progression over time. Something easily forgotten.
Let me know about your first attempts and mistakes as a beginner in the comments below. We've all been there!
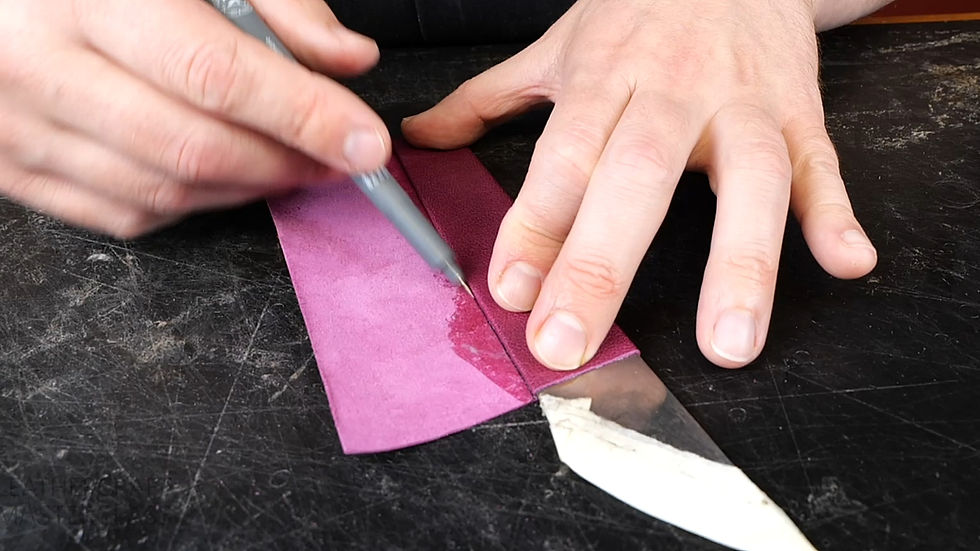

Hi Philip, oh how true, I made the mistake of buying bags of off cuts, now I know these to be all chrome tan and for a beginner virtually impossible to acheive a product that you are proud of. stretched wonky cuts, fluffy edges, virtually unskiveable. in short a disaster and totally demoralising. but slowly but surely I learned that veg is best for the projects I want to do but chrome tan doesn't worry me now. Thank you.